

Key Takeaways
- Determining whether a wall is load-bearing is the single most important first step.
- Load-bearing wall removal almost always requires a structural engineer and a permit.
- Hidden utilities — plumbing, electrical, HVAC — inside walls significantly affect project scope.
- Post-removal finishing work (patching floors, ceilings, paint) is often underestimated in both time and cost.
- A realistic contingency budget of 15–20% helps absorb unexpected structural findings.
Why Wall Removal Is More Complex Than It Looks
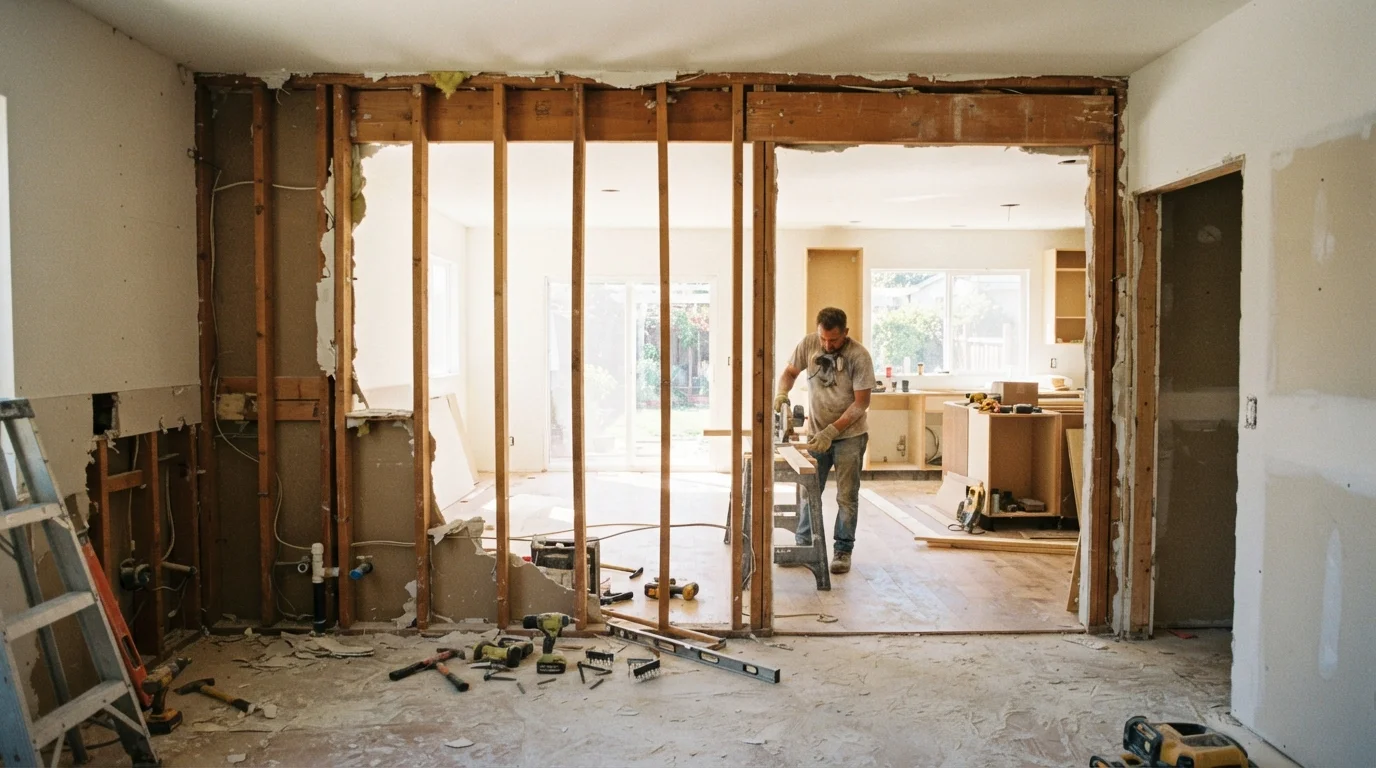
The appeal of an open-plan layout is easy to understand: better light flow, a more social living space, and a home that feels larger than its footprint. What's less obvious is the scope of work involved in getting there. Removing a single interior wall routinely uncovers hidden utilities, requires structural decisions, and triggers finishing work that touches floors, ceilings, and electrical systems.
Before any tool touches drywall, it pays to understand what's actually inside your walls and above your head. Ducts, wiring, plumbing supply lines, and gas pipes are all candidates for rerouting — each adding time and specialist cost. If your home shows signs of existing structural stress, those issues need to be understood first. Our guide on spotting structural problems before they become expensive is a useful starting point for reading what your home's current condition is telling you.
Load-Bearing vs. Partition Walls: The Critical Distinction
Every interior wall removal project begins with one non-negotiable question: is the wall load-bearing? A load-bearing wall transfers the weight of the structure above it — roof, upper floors, or both — down to the foundation. Removing it without proper support causes serious structural failure. A partition wall simply divides space and carries no structural load; these can generally be removed with fewer complications, though utilities inside still need attention.
~$3,000–$10,000+
Typical cost range for load-bearing wall removal
Estimates from U.S. home improvement industry sources; actual costs depend heavily on beam type, utilities, and local labor rates.
15–20%
Recommended budget contingency for structural renovation
Industry guidance suggests this buffer to cover hidden utility rerouting, material matching, and permit-driven design changes.
1–3 weeks
Typical total project duration including finishing
General contractor estimates; timelines extend when specialty trades, permit inspections, or material sourcing cause delays.
Several indicators suggest a wall may be load-bearing: it runs perpendicular to floor joists, it sits above a beam or foundation wall in the basement, or it aligns with walls on other floors. However, these are clues, not confirmations. The only reliable way to determine load-bearing status is a structural engineer's assessment, particularly in older homes where framing may not follow modern conventions.
Before calling a structural engineer, take photos of your basement or crawl space directly below the wall in question. Showing them beam and joist direction saves significant assessment time.
Engineers can often narrow their site visit focus — and their fee — when preliminary framing information is already documented.
Request that your contractor leave the temporary shoring in place until after the rough-in inspection is passed — not just until the beam is set.
Inspection timing doesn't always align with installation day; premature shoring removal before official sign-off is a common source of liability disputes.
What Permits and Professionals Are Typically Required
In most U.S. jurisdictions, removing a load-bearing wall requires a building permit. Many municipalities also require a permit when significant electrical, plumbing, or mechanical work is involved, even if the wall itself is non-structural. Unpermitted structural work can create serious problems when you sell the property, and may void homeowner's insurance coverage for related claims.
Never Skip the Permit for Structural Work
Removing a load-bearing wall without a permit is one of the most consequential shortcuts a homeowner can take. Beyond the immediate safety risk, unpermitted structural changes must typically be disclosed during a home sale and can require expensive remediation — including re-opening walls — to bring the work into compliance. Always verify your local requirements with your building department before work begins.
The typical professional team for a load-bearing wall removal includes:
- Structural engineer: Calculates beam sizing and foundation requirements, produces stamped drawings required for the permit application.
- General contractor or framing carpenter: Executes the temporary shoring, demolition, beam installation, and reframing.
- Licensed electrician: Reroutes any circuits or panels affected by the removal.
- Plumber or HVAC technician: Relocates pipes or ductwork found within the wall cavity.
For non-load-bearing walls with no utilities, a skilled contractor may handle the project without a structural engineer — but always verify local permit requirements before proceeding.
The Demolition and Structural Support Process
Once plans are approved and utilities are safely rerouted, the physical work follows a clear sequence. Understanding these steps helps homeowners communicate with contractors and anticipate disruption.
- Temporary shoring: Before any demolition, temporary walls or posts are built on both sides of the wall to support the load above. This is non-negotiable for load-bearing walls.
- Utility disconnection: Electrical circuits are de-energized at the panel. Plumbing is shut off and drained if pipes run through the wall.
- Drywall removal: Drywall is cut and stripped back to expose the framing and confirm what's inside the cavity.
- Framing removal: Studs, top plates, and sole plates are removed. For load-bearing walls, this happens only after the beam is ready to install.
- Beam installation: The engineered beam (often an LVL — laminated veneer lumber — or steel beam) is lifted into position and supported by posts or columns that carry the load to the foundation.
- Shoring removal: Temporary supports are removed once the permanent structure is secured and inspected.
Finishing the Space After the Wall Comes Down
The structural phase is only half the project. Finishing work is where open-plan conversions most often exceed their initial budget estimates. The ceiling typically shows a line, patch, or void where the wall met it; flooring often has a gap or different-finish strip where the wall's sole plate sat. Both require skilled remediation.
Common finishing tasks include:
- Patching and skimming the ceiling to blend the old wall line
- Extending flooring — hardwood, tile, or LVL — into the reclaimed strip, which may require matching discontinued materials
- Painting the entire combined space to unify wall color and sheen
- Installing trim or casing around any new posts or columns left to carry the beam
- Updating lighting — open spaces often need reconfigured circuits and additional fixtures to eliminate dark zones
If the conversion leads you to rethink how you'll organize and use the new combined space, our piece on open shelving trade-offs covers one popular post-conversion storage choice worth thinking through before you finalize your layout.
Match Your Flooring Material Early
If your existing floor is hardwood or a discontinued tile pattern, source matching material before demolition begins — not after. Once a wall comes down, flooring suppliers may need weeks to fulfill an order, and the gap in your floor will stall every other finishing trade behind it.
Budgeting Realistically for an Open-Plan Conversion
Project costs vary considerably depending on wall length, beam type, utility complexity, and regional labor rates. A non-load-bearing wall with no utilities in it sits at the lower end of the cost spectrum; a long load-bearing wall with a steel beam, electrical rerouting, and hardwood floor matching sits at the higher end. Neither figure is reliably predictable until an engineer and contractor have assessed the specific wall.
Build your budget in layers: structural and permit costs first, contractor labor second, finishing materials third, and a 15–20% contingency on top of everything. Hidden surprises — asbestos-containing drywall compound in older homes, out-of-code wiring, unexpected plumbing — are common enough that a contingency is not optional. For broader budgeting principles that hold up across renovation projects, see our guide on keeping renovation costs honest.
Older Homes May Contain Hazardous Materials
Homes built before the 1980s may have asbestos-containing materials in drywall joint compound, plaster, or insulation, as well as lead paint on wall surfaces. Disturbing these materials during demolition without proper testing and abatement creates serious health risks. Have a qualified inspector test for both before any demolition work begins.
Finally, consider the lifestyle impact of the open-plan layout before committing. Sound travels freely in open spaces, temperature control can become less efficient, and storage walls disappear along with the partitions. For smaller homes especially, it's worth thinking through how vertical vs. floor storage will compensate for any lost wall space. A well-planned conversion adds genuine value; a rushed one creates problems that are expensive to correct.