

Key Takeaways
- Thorough removal of old caulk and complete surface drying are the most critical steps for lasting adhesion.
- Silicone caulk outperforms latex in wet bathtub environments and resists mold far longer.
- Filling the tub with water before caulking accounts for the natural flex of the tub under load.
- A smooth, consistent bead requires slow, steady tool movement and proper tip preparation.
- Curing time — typically 24 hours — must be respected before exposing the seal to water.
What you will need
Why Most Caulk Jobs Fail Early
A caulk job that peels or molds within a year is almost never a product problem — it is a process problem. The two most common culprits are inadequate surface preparation and skipping the water-loading step. Caulk is an adhesive sealant that bonds chemically to clean, dry surfaces. When oils, soap film, or moisture are present, that chemical bond never fully forms.
The second issue is mechanical: a bathtub flexes measurably under the weight of water and a person. If the caulk is applied with the tub empty, it gets compressed every time the tub is used, eventually cracking the seal and allowing water to migrate behind the surround — where it causes far more serious damage than a cosmetic gap.
Choosing the right caulk matters too. In a wet zone like a tub surround, 100% silicone with a mold-resistant additive significantly outlasts standard latex or latex-blend formulas. Silicone remains flexible over time and does not shrink or crack the way water-based caulks can.
What you will need
Caulk removal tool or plastic scraper
Lifts and scrapes away old caulk without scratching the tub surface.
Utility knife
Scores and cuts stubborn caulk beads cleanly along both edges.
Isopropyl alcohol or denatured alcohol
Removes soap scum, oils, and residue so the new caulk bonds properly.
100% silicone caulk (mold-resistant formula)
Provides a flexible, watertight seal that holds up in high-moisture environments.
Caulk gun
Delivers controlled, even pressure for a smooth, consistent bead.
Painter's tape
Creates clean, straight edges on both sides of the joint before applying caulk.
Caulk smoothing tool or dampened finger
Tooling the bead presses it into the joint and creates a neat, concave profile.
Step-by-Step: Caulking Your Bathtub
Follow these steps in order. Skipping or shortcutting any stage — especially the drying and water-loading steps — undermines the entire seal. Budget a full day for prep and application, plus a day of cure time before the tub returns to use.
Remove all existing caulk
Score both edges of the old caulk line with a utility knife, cutting parallel to the surface rather than angling into it. Then work a plastic scraper or dedicated caulk removal tool under the bead, pulling it free in strips. Work slowly to avoid gouging the tub finish or cracking grout.
After the bulk is gone, pick away any remaining fragments with the knife tip or a stiff plastic tool. Every piece must come out — new caulk will not bond over old residue.
Clean and prepare the surface
Wipe both surfaces (tub deck and tile edge) thoroughly with isopropyl alcohol on a clean rag. This lifts soap scum, body oils, and cleaning product residue that would prevent proper adhesion. Follow with a dry cloth and inspect the joint closely.
If you see any mold or mildew staining on the surrounding tile or tub surface, treat it with a diluted bleach solution, rinse thoroughly, and allow it to dry completely before proceeding.
Let the surface dry completely
This step is non-negotiable. Any trapped moisture beneath new caulk will cause it to lift, blister, or grow mold prematurely. After cleaning, allow the joint area to dry for a minimum of 24 hours with good airflow. Running the bathroom exhaust fan helps speed the process.
Fill the tub with water before caulking
This is the step most DIYers skip — and the reason many caulk jobs fail within months. Fill the bathtub completely with water before you apply a single drop of caulk. The weight of the water causes the tub to flex downward slightly, opening the joint to its widest point.
If you caulk an empty tub, the joint compresses when the tub is loaded under use, shearing the bond and creating cracks where water can penetrate.
Apply painter's tape and cut the caulk tip
Run two strips of painter's tape — one on the tub deck, one on the tile — leaving just the joint gap exposed. This gives you clean, straight edges and makes cleanup far easier.
Cut the caulk tube tip at a 45-degree angle. Start with a small opening (about 3/16 inch) — you can always enlarge it, but you cannot shrink it. Puncture the inner foil seal with a wire or the tool built into most caulk guns.
Apply a steady, continuous bead
Hold the caulk gun at a consistent 45-degree angle to the joint. Apply steady, even trigger pressure and move the gun along the joint at a controlled pace — too fast leaves gaps, too slow creates lumps. Aim to complete each wall seam in one unbroken pass.
Tool the bead and remove the tape
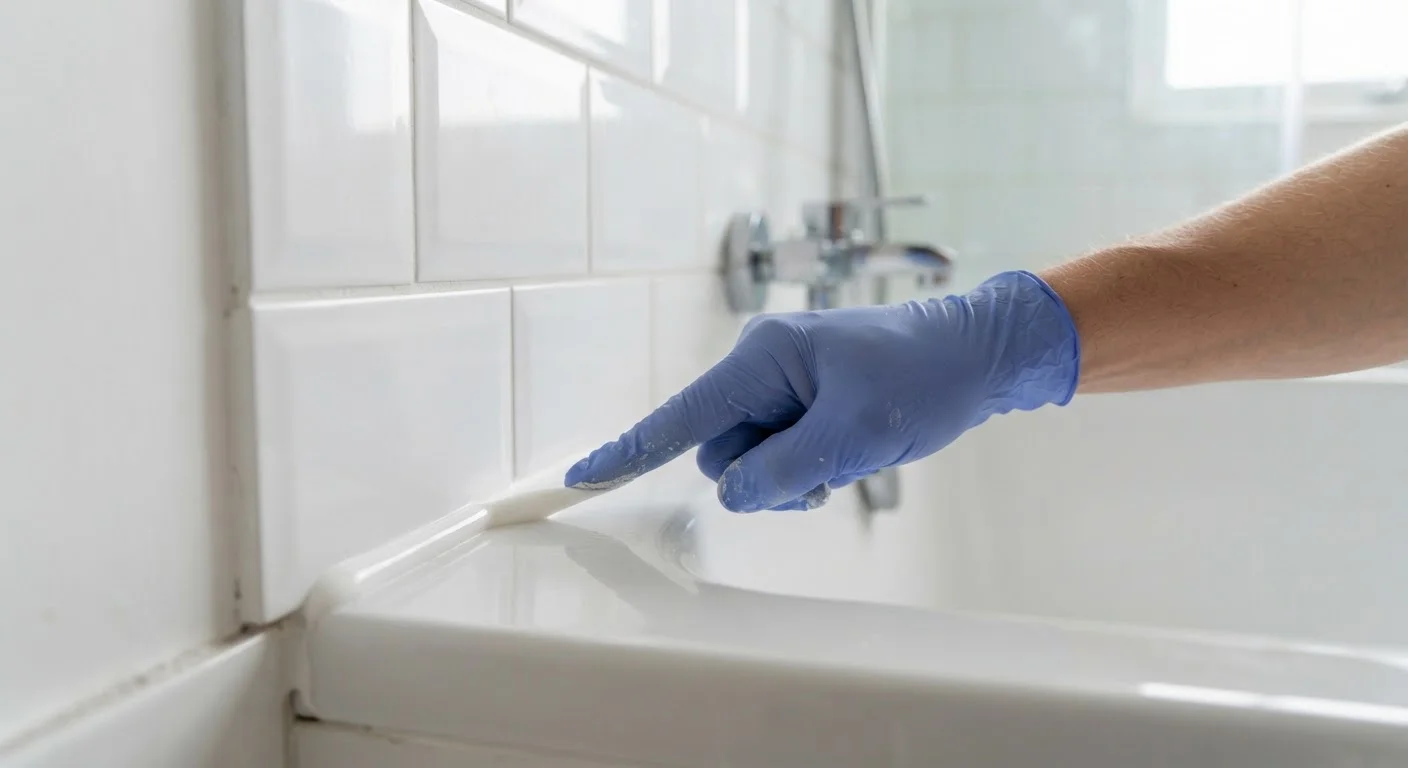
Dip a fingertip in water (or use a caulk smoothing tool) and run it along the bead in a single, steady stroke. This presses the caulk firmly into the joint and creates a slightly concave profile that sheds water effectively.
Immediately pull the painter's tape away at a 45-degree angle while the caulk is still wet. Waiting until it skins over will tear the edge.
Allow full cure time before using the tub
Drain the tub once the tape is removed and the bead looks clean. Do not use the bathtub for at least 24 hours, and ideally 48 hours, to allow the silicone to cure fully. Check the product label for the manufacturer's specified cure time, as formulas vary.
Work With Adequate Ventilation
Silicone caulk releases acetic acid fumes (the vinegar smell) during curing, which can cause irritation in enclosed spaces. Keep a window open and the exhaust fan running throughout the application and curing period. If you are sensitive to chemical fumes, wear a half-face respirator rated for organic vapors.
Troubleshooting and Maintenance
Once your caulk has fully cured, inspect it after the first few uses. A properly applied bead should be smooth, fully adhered along both edges, and free of gaps or bubbles. If you notice a section that did not adhere — common at corners — cut it out cleanly, clean the spot, and re-apply to just that section.
Going forward, a dry-wipe of the tub surround after each shower reduces mold pressure on the caulk and extends its life considerably. Most well-applied silicone caulk in a maintained bathroom can last five or more years before needing replacement.
Keep the Joint Clean Between Reapplications
Soap scum buildup at the tub-tile joint is the primary driver of mold under and around caulk. A quick weekly wipe with a bathroom cleaner — followed by a rinse — keeps the surface conditions that shorten caulk life in check. When the caulk eventually needs replacement, thorough prep will again be the determining factor in how long the next application holds.