

Key Takeaways
- Short, calm grooming sessions work better than long, infrequent ones for most cats.
- Brushing frequency depends on coat length — longhaired cats need daily attention.
- Only trim the sharp tip of each nail, never the pink quick inside.
- Healthy cat ears require only gentle external cleaning; never insert anything into the ear canal.
- Stop and try again later if your cat becomes distressed — forcing grooming backfires.
What you will need
Why Home Grooming Matters Beyond Appearances
Cats are diligent self-groomers, but they still benefit from human assistance — especially as they age or if they have thick or longhaired coats. Routine grooming at home does more than keep a cat looking tidy. It gives you regular hands-on contact with your cat's skin, coat, ears, and nails, making it far easier to notice early signs of change — a new lump, unusual scaling, or an ear that smells different than usual.
These observations are genuinely useful context to share at your annual checkup. For a full picture of what vets assess during routine visits, see our annual vet visit checklist.
Grooming needs also vary with lifestyle. Cats who spend time outdoors may pick up more debris and need more frequent coat checks, while strictly indoor cats may develop longer nails more quickly due to softer walking surfaces. And for senior cats, whose flexibility can make self-grooming harder, regular human-assisted grooming becomes even more valuable — something covered in depth in our guide on keeping an ageing pet comfortable.
Build Positive Grooming Associations Early
Pair every grooming session with a small treat or a few minutes of play afterward. Over time, most cats learn to tolerate — and some even enjoy — handling. If your cat is new to grooming, start with just one task per session and gradually build up as trust grows.
What You'll Need Before You Start
Having the right tools ready before you begin makes sessions faster, calmer, and safer. Using improvised equipment — such as human nail scissors — increases the chance of splitting the nail or cutting at the wrong angle.
What you will need
Slicker brush or grooming comb
Removes loose fur, tangles, and debris from the coat without scratching the skin.
Cat nail clippers
Trims the sharp tip of each claw safely; designed for the angle and thickness of cat nails.
Styptic powder
Stops minor bleeding quickly if the nail quick is accidentally nicked.
Feline ear-cleaning solution
Loosens wax and debris from the outer ear canal for gentle removal.
Cotton balls or gauze squares
Used to wipe away loosened wax and dirt from the visible part of the ear.
Know When to Stop — and When to Call a Vet
If you notice dark crumbly discharge deep in the ears, persistent head-shaking, bleeding from the nail bed, or skin sores during brushing, stop grooming and consult your veterinarian. These signs can indicate infection, ear mites, or other conditions that need professional diagnosis. Home grooming is routine maintenance — it is not a substitute for veterinary care.
If your cat has a history of extreme stress during handling, consider discussing desensitization strategies with your vet before starting a grooming routine. Our article on reducing pet stress before appointments includes techniques that translate well to home handling, too.
Step-by-Step Grooming Instructions
Follow the steps below in order for a complete grooming session. You do not need to complete all three tasks — brushing, nail trimming, and ear cleaning — in a single sitting, especially when you are first establishing a routine. Breaking them into separate short sessions can be less taxing for both of you.
Choose the right moment and setting
Pick a time when your cat is naturally relaxed — often after a meal or a nap. Place a non-slip mat or soft towel on a stable surface at a comfortable height for you. Keep the room quiet; sudden noises can startle even a calm cat and set back grooming progress.
Brush the coat thoroughly
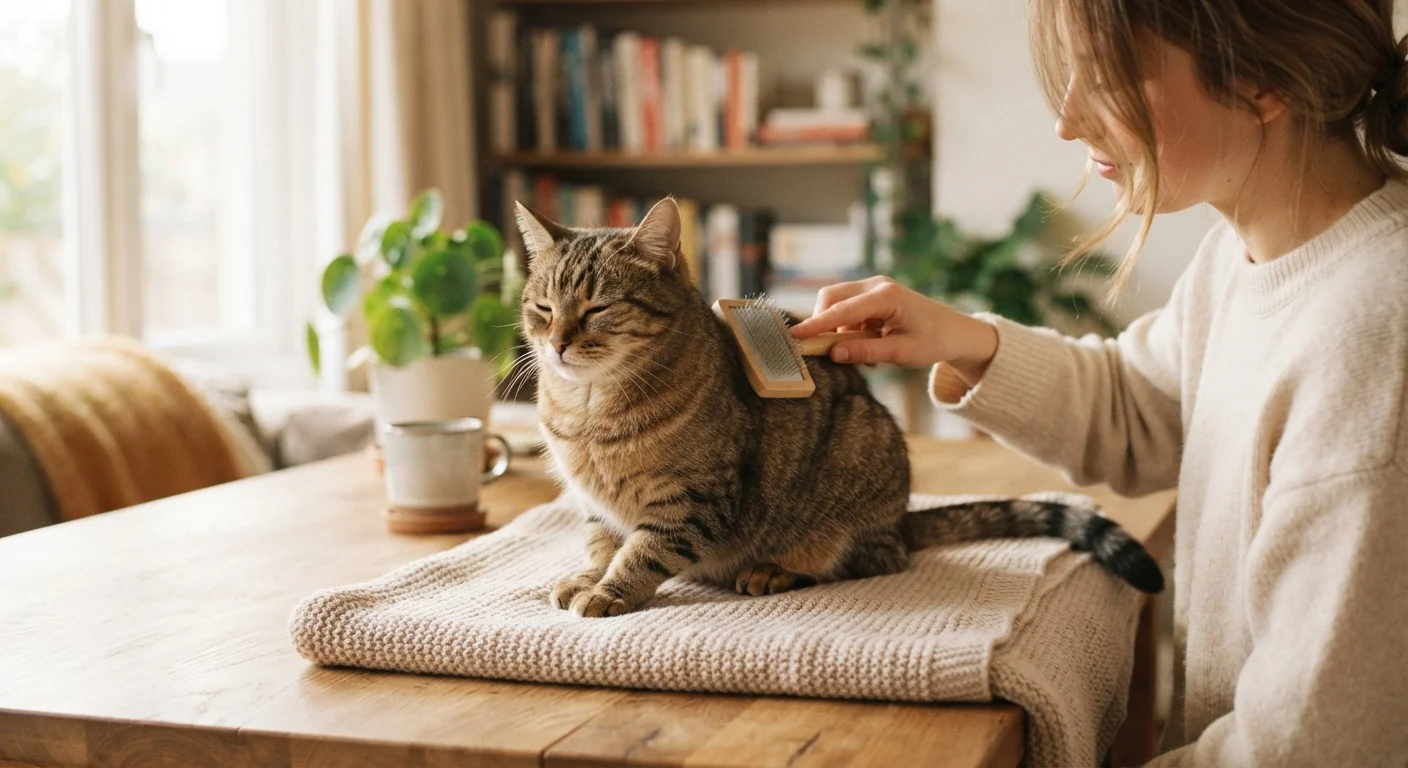
Work in the direction of hair growth, starting at the neck and moving toward the tail. Use gentle, short strokes and check for mats (tightly tangled clumps of fur) as you go. Shorthaired cats generally need brushing one to three times per week; longhaired breeds — such as Persians or Maine Coons — benefit from a daily brush to prevent painful matting.
If you find a small mat, try teasing it apart with your fingers or a wide-tooth comb rather than pulling. Large, tight mats close to the skin should be addressed by a professional groomer or vet to avoid skin injury.
Trim the nail tips
Gently press one paw pad between your thumb and forefinger to extend the claw. Look for the quick — the pink triangular area visible through the nail that contains blood vessels and nerves. Clip only the transparent, curved tip beyond the quick, using a single smooth squeeze of the clippers.
Trim one or two nails, reward your cat, and take a break if needed. Completing all nails in one sitting is ideal but not essential — even trimming a few per session is beneficial. Aim for a trim roughly every two to three weeks.
Inspect and clean the outer ears
Look into each ear under good light. A healthy ear is pale pink, faintly waxy, and odor-free. If you see a small amount of light-colored wax, moisten a cotton ball with feline ear-cleaning solution and gently wipe the visible outer ear — the part you can see without any tools.
Never insert a cotton swab or any object into the ear canal. The goal is to clean the outer surface only.
End on a positive note
Offer a treat, a play session, or calm affection immediately after grooming — whichever your cat prefers. This consistent positive ending helps your cat associate handling with something pleasant. Keep a grooming log if it helps you track nail trim dates and any skin or coat changes you notice over time.
Never Use Human Grooming Products on Cats
Human shampoos, ear drops, and nail treatments are formulated for human skin chemistry and can be toxic or irritating to cats. Always use products specifically labeled as safe for felines, and check with your vet if you are unsure about any product.