

Key Takeaways
- Skipping primer on new drywall or patched surfaces is the leading cause of blotchy, uneven paint.
- Applying too-thick coats or rushing dry times creates lap marks and uneven sheen.
- Surface contamination — grease, dust, or old wax — prevents paint from bonding evenly.
- Choosing the wrong finish for the room's porosity or texture can magnify patchiness.
- Two thin, properly dried coats almost always outperform one heavy coat.
Why Patchy Paint Happens More Often Than It Should
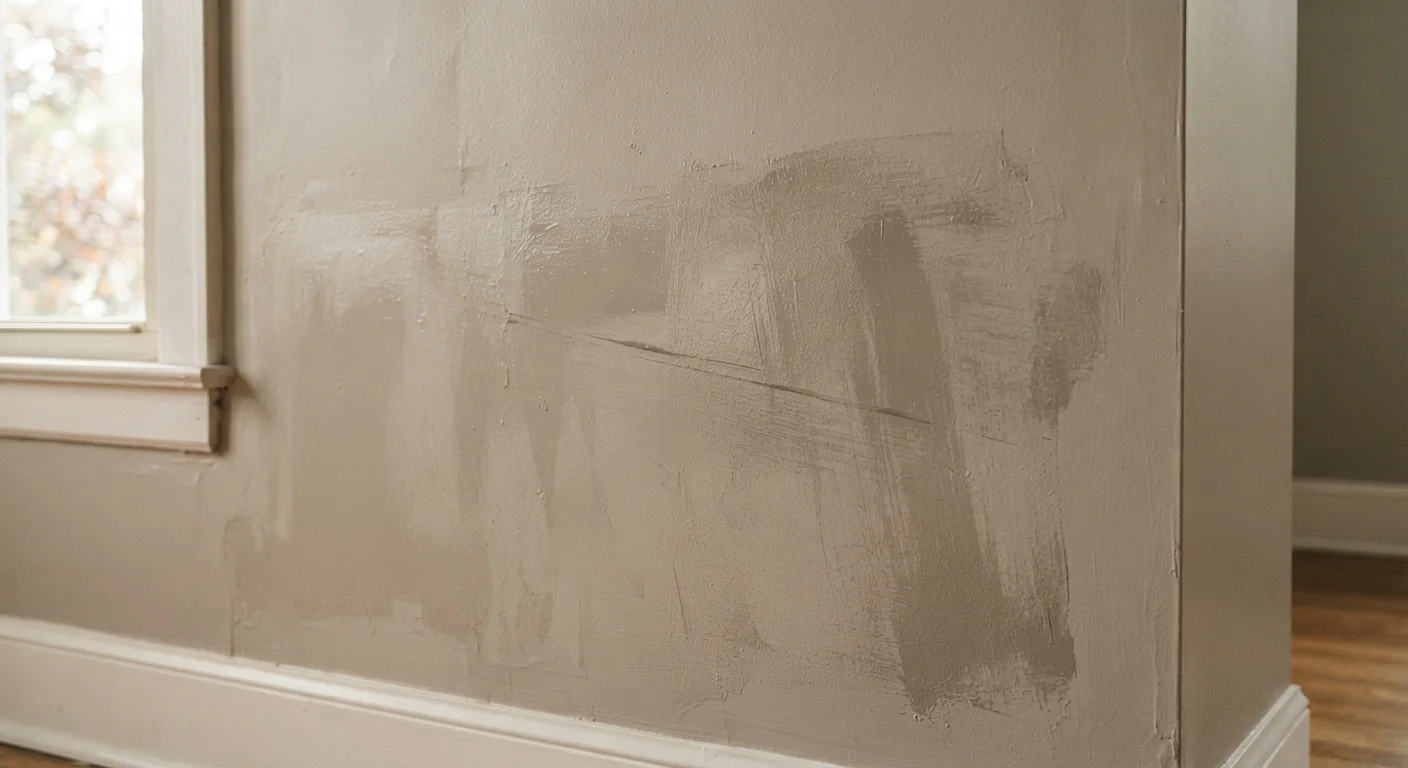
You rolled on a fresh coat, let it dry, and stepped back — only to find uneven sheen, colour blotches, or visible lap marks staring back at you. This is one of the most common DIY frustrations, and it rarely has a single cause. Most patchy results trace directly to preparation shortcuts or application habits that seem harmless but compound into visible problems once the paint dries.
Understanding the mechanics behind each type of patchiness helps you fix the issue properly — not just paint over it. Note that if your walls show recurring damp patches rather than painting-related unevenness, the cause may be structural; learn about hidden damp causes before reaching for a brush.
Skipping primer before painting over fresh drywall, patches, or stained surfaces.
Why it happens: Primers add time and cost, so many homeowners skip them assuming modern paint-and-primer-in-one products eliminate the need entirely.
Painting over a dirty, greasy, or wax-coated wall without cleaning it first.
Why it happens: Walls look clean to the naked eye, so the step feels unnecessary — but invisible grease near cooking areas or residue from cleaning products breaks paint adhesion.
Applying one thick coat instead of two thinner coats.
Why it happens: A heavy coat looks like full coverage when wet, encouraging painters to stop after one pass to save time.
Not allowing enough dry time between coats, causing the second coat to drag or lift the first.
Why it happens: Surface dryness is mistaken for full cure. Paint can feel dry within an hour but still be soft enough underneath to tear when a roller re-wets it.
Losing the wet edge, which causes visible lap marks where dried and fresh paint overlap.
Why it happens: Painting too slowly, stopping mid-wall, or working in sections that are too small allows edges to dry before the next stroke meets them.
The Role of Finish Choice and Application Technique
Even with good preparation, the wrong finish or poor application method can introduce patchiness. Higher-sheen finishes — satin, semi-gloss, and gloss — are more reflective and will visually amplify any surface irregularity, lap mark, or thick edge. Matte and eggshell finishes are more forgiving on imperfect walls. If you are unsure which finish suits your room's conditions and wall texture, review this finish guide before committing to a sheen level.
2×
Coats needed for consistent coverage
Paint manufacturers and professional decorators consistently recommend two coats as the baseline for even colour and sheen on interior walls.
~80%
Of paint failures linked to surface prep
Industry guidance from professional decorating bodies attributes the large majority of adhesion and finish failures to inadequate surface preparation rather than paint quality.
Application technique matters just as much as product choice. Always maintain a wet edge — work in sections and overlap each new stroke into paint that has not yet dried at the edge. Rolling in consistent V- or W-patterns distributes paint more evenly than straight back-and-forth strokes. Finally, lighting matters during application: use a work light held at a low angle to spot thin patches while the paint is still wet and correctable.
Many patchy results are also rooted in renovation misconceptions. Common DIY myths — like believing one heavy coat replaces two standard ones — are worth revisiting before your next project.
Don't Paint Over Mould or Active Moisture
If patches on your wall are caused by mould or ongoing moisture intrusion, painting over them will not resolve the problem — it will temporarily hide it. Mould must be treated and the moisture source eliminated before any decorating takes place. Consult a qualified professional if you suspect structural damp or mould growth behind the wall surface.