

Key Takeaways
- Painting or plastering over damp without fixing the source guarantees the problem will return.
- The three main damp types — rising, penetrating, and condensation — each require a different solution.
- External maintenance failures like cracked pointing or blocked gutters are the most commonly overlooked causes.
- A moisture meter helps confirm whether a wall is genuinely wet before and after repairs.
- Some damp investigations and remediation work should involve a qualified surveyor or contractor.
Why Damp Patches Keep Coming Back
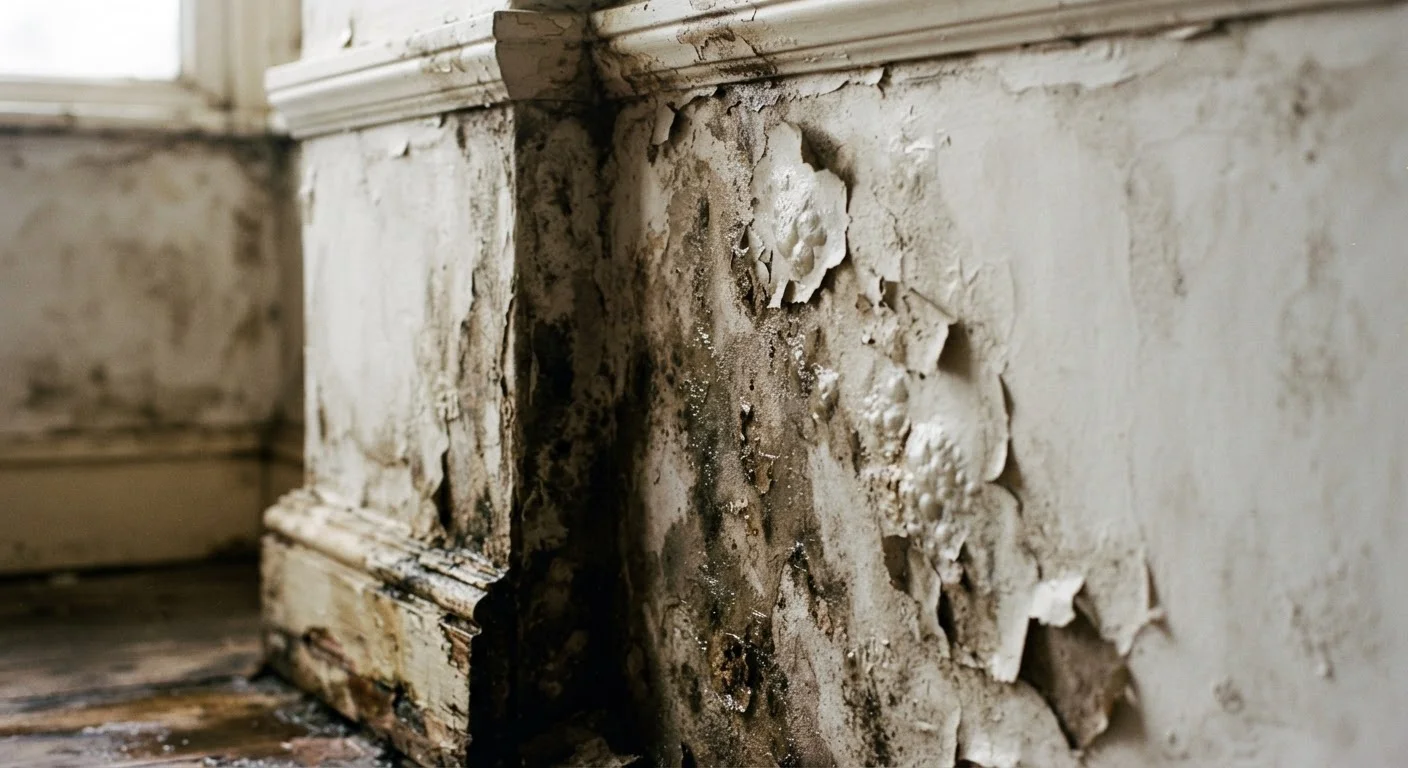
A damp patch treated with sealant paint or fresh plaster that reappears within weeks isn't a fluke — it's a sign that only the symptom was addressed, not the cause. Understanding why this happens starts with recognising that interior damp almost always originates outside the wall surface you can see.
There are three distinct categories of dampness in a home: rising damp, which wicks moisture up from the ground through masonry; penetrating damp, which enters through the building envelope; and condensation, which forms when warm moist air meets a cold surface. Each has a different origin and demands a different fix. Misidentifying the type is one of the most expensive mistakes a homeowner can make.
Before any repair work begins, it's worth reviewing how to spot structural problems early — dampness in recurring locations can sometimes point to deeper building issues that go beyond simple moisture management.
Common Mistakes That Let Damp Return
The following errors account for the vast majority of recurring damp problems in US homes. Recognising them early can save significant time, money, and structural damage.
Treating the interior surface without investigating the exterior wall.
Why it happens: The damp patch is visible inside, so it feels logical to repair from inside. Many homeowners don't realise interior symptoms routinely have exterior origins.
Assuming all damp patches are the same type and applying a one-size-fits-all product.
Why it happens: Waterproofing paints and sealants are widely marketed as universal damp solutions, making it easy to reach for them without diagnosing the actual damp type.
Overlooking failed or blocked gutters and downspouts as a source of wall saturation.
Why it happens: Gutters are out of sight and easy to neglect. Homeowners often look at ground-level or wall-level causes while gallons of water overflow directly against the building fabric above.
Redecorating before the wall has fully dried after the underlying problem is repaired.
Why it happens: Once the source is fixed, there's natural urgency to restore the wall's appearance. Walls can feel dry to the touch while retaining significant trapped moisture internally.
Ignoring inadequate or incorrectly installed ventilation in high-humidity rooms.
Why it happens: Condensation damp is often blamed on the building fabric rather than the indoor environment. Homeowners may not realise an extractor fan that vents into a roof void rather than outside is effectively useless.
~60%
Of damp problems misdiagnosed on first attempt
Industry estimates from building surveying organisations suggest the majority of damp treatments fail because the problem type is incorrectly identified before work begins.
1 in 5
US homes affected by moisture or mold issues
The EPA has noted that excess moisture is among the most common indoor air quality concerns in residential buildings across the United States.
What to Check Before You Redecorate
Decoration should always be the final step — not the first response. Before picking up a brush or roller, work through this diagnostic sequence:
- Use a moisture meter. A basic pin-type meter can tell you whether a wall is genuinely wet or simply stained from a past event that has since dried. Readings above 20% moisture content in timber or elevated readings in masonry warrant investigation before any surface work.
- Inspect the exterior at the same location. Walk outside and look directly at the section of wall corresponding to the interior patch. Check for cracked render, failed pointing, missing mortar, or any debris-filled cavity that could be bridging a damp-proof course (DPC).
- Check above, not just across. Water travels. A patch at mid-wall height may trace back to a leak at the eave, a cracked flashing, or a blocked gutter several feet above.
- Assess ventilation. In bathrooms, kitchens, and utility rooms, check that extractor fans are ducted to the outside — not just into a ceiling void — and that they're actually working.
Older Homes May Contain Hazardous Materials
Homes built before 1980 may contain asbestos in textured coatings, insulation, or other building materials. Disturbing these materials during damp investigation or repair can release hazardous fibers. If you suspect your home may contain asbestos-containing materials, do not proceed with any drilling, cutting, or removal — consult a licensed asbestos inspector or abatement contractor before continuing.
Once the source is confirmed and repaired, allow the wall adequate drying time — typically several weeks depending on wall thickness and construction type — before applying any finish. Rushing this stage is one of the surest ways to cause a patchy or failing paint finish.
When to Call a Professional
Some damp problems are genuinely DIY-accessible once the source is identified. Repointing a short section of cracked mortar, clearing a blocked gutter, or improving bathroom ventilation are all tasks a competent homeowner can tackle. Others are not.
Rising damp remediation — especially chemical DPC injection or structural tanking — is regulated in most jurisdictions and, when done incorrectly, can cause the problem to migrate to adjacent walls rather than resolve. Similarly, any investigation that involves disturbing structural masonry, cavity walls, or older homes that may contain asbestos-containing materials (common in homes built before 1980) should be referred to a licensed contractor.
If you're unsure whether your situation is straightforward, an independent building surveyor or structural inspector can assess the property without a financial stake in recommending expensive solutions. It's also worth reviewing common DIY myths that lead homeowners astray — including the persistent belief that painting over mould eliminates it.
This article is for general informational purposes only. Always verify local building codes, permit requirements, and seek qualified professional advice before undertaking structural or remediation work in your home.