

Key Takeaways
- Five essential fluids can be checked in under ten minutes with no special tools.
- Most checks should be done on a cold, parked engine on level ground for accurate readings.
- Low or discolored fluids often signal a problem worth investigating before it becomes expensive.
- Topping up fluids is generally safe for owners; diagnosing leaks or major issues warrants a mechanic.
- Regular fluid checks are one of the simplest ways to extend engine life and avoid breakdowns.
What you will need
Why These Checks Matter
Fluids are the lifeblood of your vehicle's key systems — engine, cooling, braking, steering, and visibility. When levels drop or fluids degrade, components work harder, wear faster, and can fail without warning. The good news is that spotting a problem early almost always costs far less than repairing the damage caused by ignoring it.
These five checks require no mechanical expertise and no tools beyond a rag and your owner's manual. They're also one of the most straightforward contributions to road safety available to any driver. For a broader view of what maintenance tasks fall within a careful owner's reach — and which ones don't — see our DIY vs. mechanic guide.
Build a Monthly Check Habit
Running through these five checks once a month takes less time than filling a tank of gas. Pair it with the first of the month or a regular errand so it becomes automatic. Consistent checks make it easier to notice gradual changes — like a slow coolant drop — before they turn into a roadside problem.
Before You Start
For accurate readings on most fluids, your car should be parked on level ground with the engine off and cool — typically after sitting for at least an hour. An uneven surface tilts the fluid in reservoirs and throws off your readings. Gather your rag and owner's manual before popping the hood.
What you will need
Once you're set up, work through each fluid in order. The whole process rarely takes more than ten minutes.
Lint-free rag or paper towels
Wipe the dipstick clean before taking an oil reading and clean up any drips.
Owner's manual
Identifies the location of each reservoir and specifies the correct fluid type and fill range.
Flashlight or phone torch
Illuminates the engine bay to help read reservoir markings and spot discoloration.
Step-by-Step Fluid Checks
Follow these steps in sequence. Each check builds a quick picture of your vehicle's fluid health.
Check the engine oil
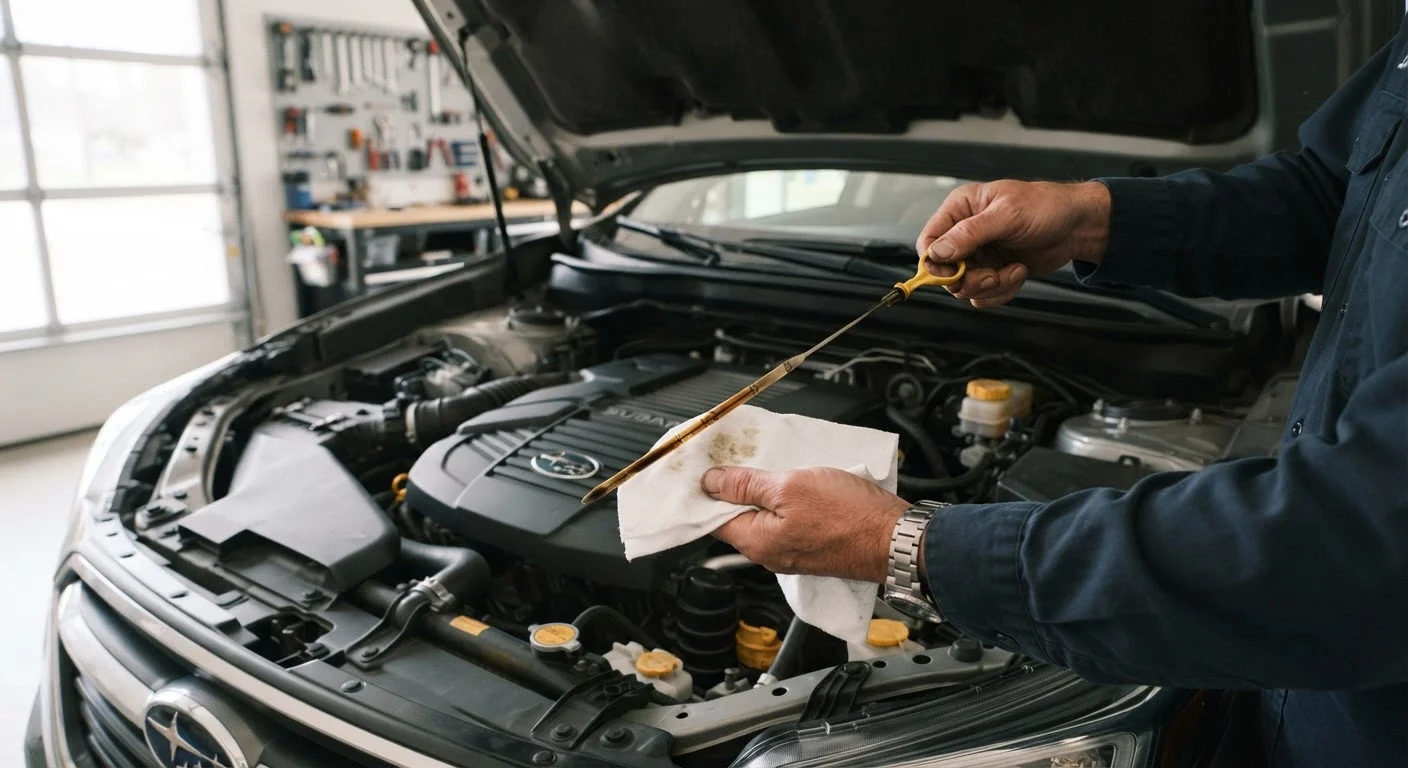
Pull the dipstick (usually a brightly colored loop or ring near the engine block), wipe it clean, reinsert it fully, then pull it out again. The oil level should sit between the two marks — MIN and MAX. Also note the color: healthy oil is amber to light brown. Very dark or gritty oil may indicate it's overdue for a change. For a deeper look at what the oil's condition means, see our engine oil basics guide.
Check the coolant level
Locate the translucent plastic coolant reservoir (often labeled with a temperature symbol). The level should be between the LOW and FULL markings on the side of the tank. Coolant is typically bright green, orange, or pink depending on the type used in your vehicle.
Check the brake fluid
The brake fluid reservoir is a small, semi-transparent plastic container near the back of the engine bay on the driver's side. The level should be between MIN and MAX. Brake fluid should be clear to light yellow; a dark, murky appearance suggests it may need replacing. Consult a qualified mechanic if the level is consistently low, as this can indicate a leak or worn brake pads.
Check the power steering fluid (if applicable)
Many newer vehicles use electric power steering and have no fluid reservoir to check. If your car has hydraulic power steering, the reservoir is usually near the front of the engine and marked with a steering wheel icon. Some have a dipstick on the cap; others have MIN/MAX lines on the reservoir wall. The fluid should be clear or light pink — not dark or foamy.
Check the windshield washer fluid
The washer fluid reservoir (typically marked with a windshield/water symbol) is the only fluid you can safely top up any time without concern for engine temperature. Fill it with a purpose-made washer fluid, not plain water, which can freeze in cold weather and doesn't clean as effectively.
Brake Fluid Requires Professional Attention
While you can visually check brake fluid level yourself, any significant drop, persistent low level, or dark contaminated appearance should be assessed by a qualified mechanic. The braking system is safety-critical, and diagnosing a fluid loss correctly is not a DIY task.
If any fluid is consistently low between checks, or if you notice an unusual smell, color, or texture, have a mechanic investigate the cause. Topping up is a short-term measure — finding out why a fluid is low is what prevents the real damage.
Fitting Fluid Checks Into Your Routine
Most mechanics suggest a monthly fluid check as a reasonable baseline for the average driver. Higher-mileage vehicles, older cars, or those doing frequent long drives may benefit from more frequent checks. The routine maintenance milestones guide covers the broader schedule of service intervals worth knowing.
If you're planning a road trip, running through these checks a day or two before you leave is particularly worthwhile — see the pre-long drive checklist for everything else worth confirming before a longer journey.
Always Use the Correct Fluid Specification
Using the wrong coolant type, brake fluid grade, or oil viscosity can damage seals, reduce performance, or void a warranty. Always cross-reference your owner's manual or the label printed on the reservoir cap before adding any fluid. When in doubt, ask a qualified mechanic rather than guessing.
Fluid checks are among the simplest habits a driver can adopt. Combined with attention to warning lights and any unusual noises or smells, they give you a meaningful early-warning system for problems that would otherwise only surface at the worst possible moment.