

Key Takeaways
- Grid lines help you compose better photos using the rule of thirds — no extra app needed.
- Tapping the screen locks focus and exposure, preventing blurry or washed-out shots.
- Burst mode is built into most native camera apps and captures fast-moving subjects reliably.
- HDR, timer, and manual white balance controls are often hidden in plain sight within camera settings.
- Understanding a few core features delivers noticeably better photos from the hardware you already own.
What you will need
What's Already Inside Your Camera App
Most people open their phone's camera, point, and tap the shutter — and that's it. But native camera apps on both Android and iOS have accumulated a surprisingly deep feature set over the years, quietly added through software updates. You don't need a paid editing app or a third-party camera replacement to take significantly better photos. You just need to know where to look.
The features covered here are available in the stock camera apps on the vast majority of modern smartphones. Because Android manufacturers customize their software, exact menu labels may differ slightly — but the underlying tools are almost universally present. If you're curious how your phone's operating system affects the apps available to you, see our comparison of Android and iOS for everyday users.
What you will need
How to Use These Features Step by Step
Work through these techniques one at a time. Each one is independent — you can adopt them in any order, and even mastering just one or two will produce a visible improvement in your everyday photos.
Enable Grid Lines for Better Composition
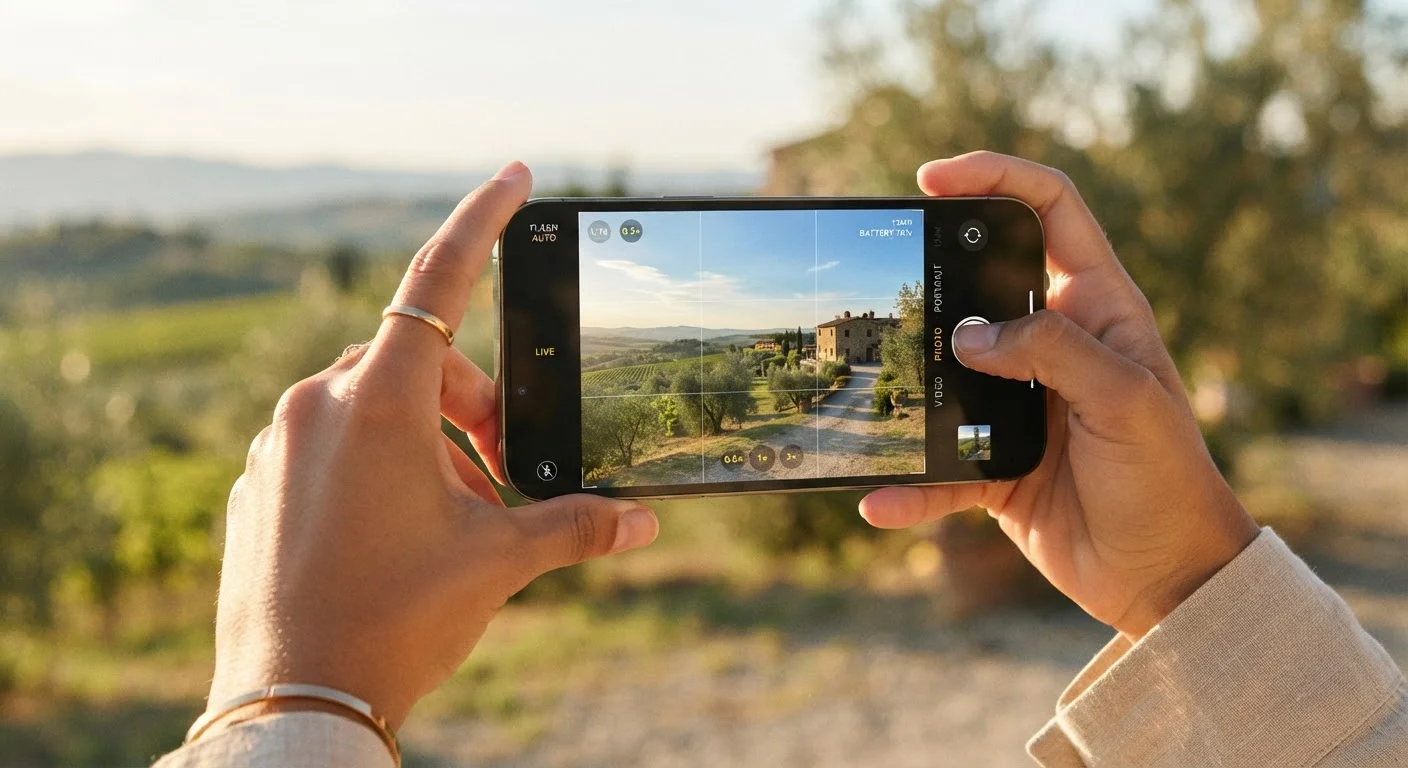
Grid lines overlay a 3×3 grid on your viewfinder. This helps you apply the rule of thirds — a basic principle where placing your subject along the grid lines or at their intersections tends to create more visually engaging photos than centering everything.
On iPhone: Go to Settings → Camera → toggle on Grid. On Android: Open the camera app, tap the settings gear or the three-line menu, and look for Grid lines or Shot suggestions.
Lock Focus and Exposure with a Long Press
When you tap the screen, your camera briefly sets focus and exposure for that point — but it can drift if something moves. A long press on your subject locks both focus and exposure in place, shown by an AE/AF Lock banner on iPhone or a padlock icon on many Android devices.
This is particularly useful when your subject is lit differently from the background, such as a person standing against a bright window. Lock on their face so the camera doesn't expose for the bright background and leave the subject in shadow.
Use Burst Mode for Moving Subjects
Burst mode takes a rapid sequence of photos in a single press, giving you multiple frames to choose from. It's ideal for kids, pets, sports, or any unpredictable moment.
On iPhone (iOS 14 and later): Press and slide the shutter button to the left. On older iPhones and most Android devices: Hold down the shutter button. Your camera app will capture frames at high speed until you release.
After shooting, open the burst in your Photos or Gallery app and select only the sharpest, best-timed frame. Delete the rest to save storage space.
Turn On HDR Selectively
HDR mode takes multiple exposures and combines them, preserving detail in both bright highlights and dark shadows — useful for landscapes or scenes with strong contrast. However, it can introduce a slight delay and may look unnatural on subjects that are moving.
Many phones apply HDR automatically, but you can often force it on or off. Look for an HDR toggle at the top of the viewfinder. Use it deliberately for high-contrast static scenes, and turn it off for fast action or subjects in consistent light.
Set a Timer for Steadier Shots
The self-timer isn't just for selfies. Setting a 2- or 3-second timer when your phone is propped or on a flat surface means the camera has stopped vibrating from your tap by the time the shutter fires — producing sharper images in low light or when using the rear camera for still subjects.
Find the timer icon (usually a clock symbol) at the top or in the settings panel of your camera app. Choose 2 or 3 seconds for general use, 10 seconds for group shots where you need time to get in frame.
Check Your Camera Settings Menu Once
Many useful features — including white balance control, photo resolution, and video stabilization — are tucked inside the camera app's settings rather than the main viewfinder. Spending five minutes scrolling through that menu once is one of the highest-return investments you can make in your everyday photo quality. You may discover features you didn't know your phone had.
Common Pitfalls and How to Avoid Them
Even with the right tools enabled, a few habits tend to undermine photo quality.
- Zooming with the digital zoom: Pinching to zoom on most phones uses digital zoom, which degrades image quality by cropping and enlarging the sensor data. If your phone has multiple lenses, switch between them using the 0.5×, 1×, or 2× buttons instead — those use separate optical lenses and preserve quality.
- Shooting through dirty glass: A smudged lens coating reduces sharpness and introduces glare. Wipe the camera lens with a soft cloth before shooting in important situations.
- Ignoring the volume buttons: On most phones, the physical volume buttons can act as a shutter release, which reduces the camera shake caused by tapping the screen — especially useful for low-light or close-up shots.
Avoid Over-Relying on Digital Zoom
Digital zoom can look acceptable on screen but will reveal significant quality loss when you view photos at full size or share them to a larger display. If physical proximity to your subject isn't possible, consider cropping the photo afterward in your native gallery app instead — the result is often the same, but you retain the full original file.
For a broader look at often-missed phone features beyond the camera, see our guide on hidden settings that make your smartphone easier to use.