

Key Takeaways
- Most smart thermostats can be installed without an electrician if your existing wiring supports them.
- The C-wire (common wire) is the most frequent compatibility hurdle homeowners encounter.
- Always shut off power at the circuit breaker before touching any thermostat wiring.
- Photographing your existing wiring before disconnecting anything saves significant troubleshooting time.
- Some wiring configurations — high-voltage or multi-stage systems — require a licensed professional.
What you will need
What You Need to Know Before You Start
Smart thermostats can learn your schedule, adjust remotely via an app, and potentially reduce unnecessary heating and cooling. If you're building out a connected home, understanding these devices is a logical next step — see our overview of what a smart home actually is for broader context.
Before purchasing or installing any device, you need to confirm two things: that your HVAC system is compatible, and that your existing wiring will support the new thermostat.
Check Your System Type
Smart thermostats are generally designed for low-voltage systems (24V), which cover the vast majority of central heating and cooling setups in US homes. They are not compatible with:
- High-voltage baseboard heaters (120V or 240V)
- Some older steam or radiant systems
- Certain multi-zone commercial-style setups
If you're unsure what type of system you have, check your existing thermostat's wiring label or consult your HVAC documentation. When in doubt, contact a licensed HVAC technician before proceeding.
The C-Wire Question
The C-wire (common wire) provides a continuous 24V power supply that most smart thermostats require. Many older homes lack one. You can check by removing your current thermostat faceplate and looking for a wire connected to the terminal labeled C. Some smart thermostat models include an adapter kit if no C-wire is present — verify this before buying.
What you will need
Tools and Materials
This installation requires only basic hand tools. Gather everything before you begin so you're not hunting for a screwdriver mid-job.
Flathead and Phillips screwdrivers
Used to remove the existing thermostat faceplate and secure the new mounting plate.
Smartphone camera
Used to photograph the existing wiring configuration before disconnecting anything.
Masking tape and marker
Used to label each wire with its terminal letter before removal.
Voltage tester (non-contact)
Used to confirm power is off at the thermostat wires before handling them.
Drill and wall anchors
Used if the new mounting plate holes don't align with existing screw holes.
Level (small)
Used to ensure the new thermostat base is mounted straight on the wall.
Step-by-Step Installation
Work methodically and don't rush. The steps below cover a standard single-stage low-voltage installation. Your specific device's manual takes precedence over general guidance — always read it fully first.
Turn Off Power at the Breaker
Locate the circuit breaker controlling your HVAC system and switch it off. Do not rely solely on turning the thermostat off — the wiring remains live. After switching the breaker, use a non-contact voltage tester held near the thermostat wires to confirm there is no voltage present before you touch anything.
Remove the Existing Thermostat and Document Wiring
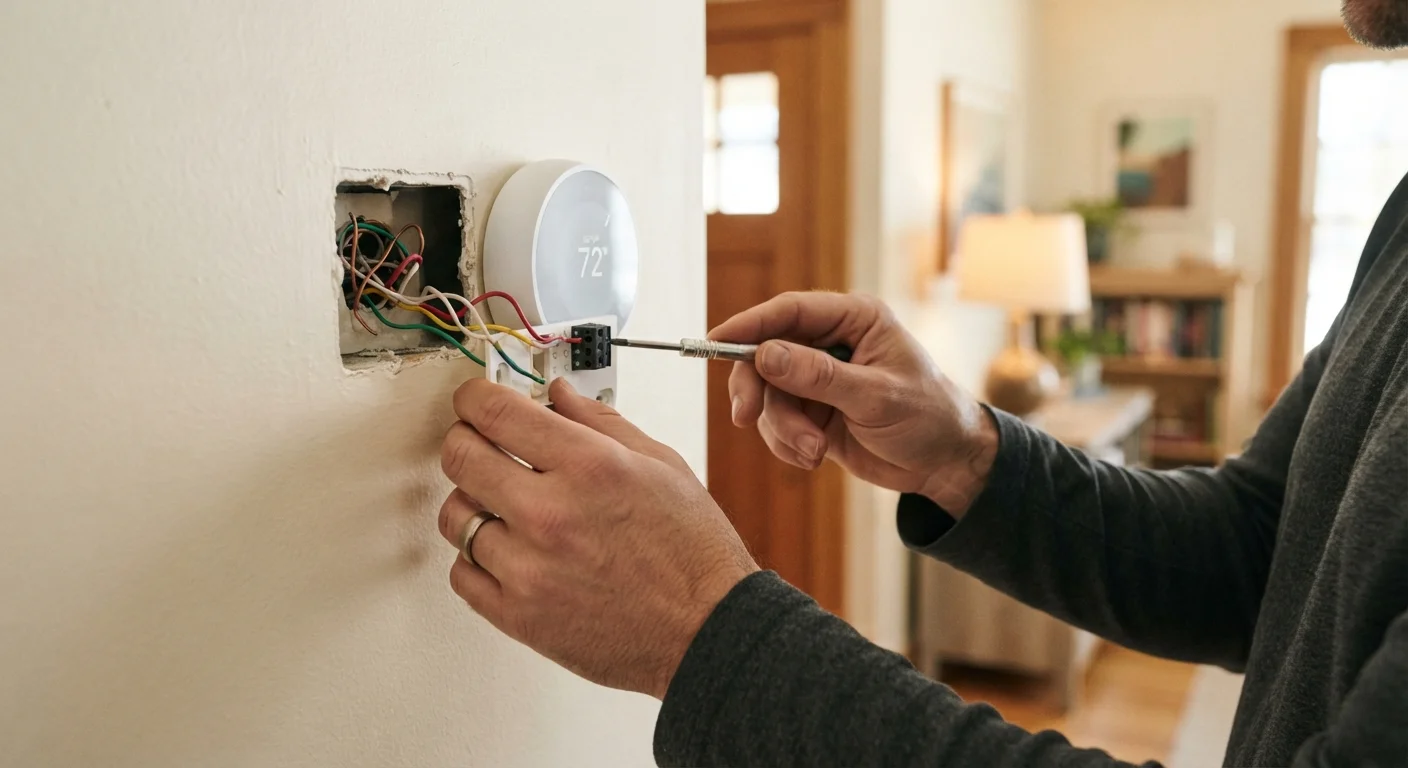
Remove the faceplate from your current thermostat — it typically snaps or screws off. Before touching any wires, take multiple clear photos of all terminal connections with your smartphone. Then, using masking tape and a marker, label each wire with the letter of the terminal it's connected to (R, G, Y, W, C, etc.). Carefully loosen each terminal screw and remove the wires.
Mount the New Thermostat Base Plate
Feed the labeled wires through the opening in the new mounting plate. Hold the plate level against the wall and mark the screw hole positions lightly with a pencil. If the holes don't align with existing anchors, drill new pilot holes and insert wall anchors. Screw the base plate firmly to the wall — a loose plate will make wire connections harder and may affect the device's display alignment.
Connect the Wires to the New Terminals
Referring to your photos and labels, connect each wire to the matching terminal on the new thermostat base. Most devices use push-in or screw terminals clearly marked with the same letter codes. Insert each wire firmly — a loose connection is the most common cause of a thermostat that powers on but doesn't control the system correctly. Consult the device's included wiring diagram if any terminal label differs from what you're used to.
Attach the Thermostat Display and Restore Power
Snap or slide the thermostat display unit onto the base plate according to the manufacturer's instructions. Return to the breaker panel and switch the HVAC circuit back on. The thermostat should power up within a few seconds. If it doesn't, switch the breaker off again and recheck all wire connections before proceeding.
Complete the In-App Setup
Most smart thermostats require a companion app to complete configuration — download it on your smartphone before starting this step. Follow the in-app prompts to connect the thermostat to your home Wi-Fi network, input your HVAC system type (the device may detect this automatically), and set your heating and cooling preferences. Test both heating and cooling modes to confirm the system responds correctly before considering the job done.
High-Voltage Systems Are Not a DIY Job
If your current thermostat is wired with thick cables rather than thin multi-colored low-voltage wires, or if it operates at 120V or 240V, do not attempt this installation yourself. High-voltage thermostat wiring carries serious risk of electric shock and requires a licensed electrician. When in doubt, have a professional assess your system before purchasing a smart thermostat.
When to Stop and Call a Professional
DIY installation is appropriate for straightforward low-voltage single-stage systems. You should contact a licensed HVAC technician or electrician if:
- Your system is high-voltage (baseboard heaters, for example)
- You have a heat pump with more than four wires and are uncertain about terminal mapping
- Wires are damaged, corroded, or unidentifiable
- The thermostat does not power on after installation and basic troubleshooting fails
- Your home was built before the 1980s and you're unsure of the wiring standard used
There's no shame in stopping. A single service call is far less costly than a damaged HVAC system or a safety hazard.
Once your thermostat is up and running, you may want to explore what other connected devices pair well with it. Our guide to choosing your first smart home device is a calm, practical starting point.
Schedule a Test Before You Need It
After installation, run a full test of both heating and cooling modes — don't wait until the first cold night or summer heat wave to find out something isn't connected correctly. Most thermostats let you trigger a test mode from the settings menu. A few minutes of testing now prevents a stressful troubleshooting session when you actually need comfort control.