

Key Takeaways
- Repair method depends on hole size — nail holes, medium damage, and large sections each require a different approach.
- Allowing each coat of joint compound to dry fully before sanding is the most critical factor in a smooth result.
- Feathering compound edges outward prevents visible ridges that show through paint.
- Priming the patch before painting is essential; skipping it causes uneven sheen and blotchy color.
- Recurring wall damage or cracks may signal underlying structural issues that warrant professional evaluation.
What you will need
What You'll Need
Gather your materials before starting. Having everything on hand prevents the compound from drying out while you search for tools mid-repair.
Putty knife or drywall knife (3–6 inch)
Applies and smooths joint compound for small to medium patches.
Wide taping knife (10–12 inch)
Feathers out compound over larger areas to blend edges seamlessly.
Sanding sponge or 120-grit sandpaper
Smooths dried compound between coats and before priming.
Drywall patch kit or mesh patch
Provides backing support for holes between 1 and 6 inches in diameter.
Joint compound (pre-mixed)
The primary filler material used to cover, tape, and finish the patch.
Drywall tape (paper or fiberglass mesh)
Reinforces seams and edges to prevent cracking over time.
Primer (drywall or PVA)
Seals the patched area so finish paint absorbs evenly.
Stud finder with AC detection
Locates studs and identifies hidden wires before cutting into walls.
What you will need
Understanding Drywall Damage Before You Begin
Drywall — also called gypsum board — is a gypsum plaster core sandwiched between two layers of paper facing. Most everyday damage falls into one of three categories: surface dings from furniture or doorknobs, medium punctures from fasteners or accidents, and larger sections damaged by water, impact, or removal of fixtures. Each type calls for a different technique and set of materials.
One important distinction: surface repairs are cosmetic fixes. If your wall has cracks that are widening, if the damage reappears in the same spot, or if you notice sagging or bowing, those are potential signs of something deeper. Our article on spotting structural problems before they become expensive explains what those warning signs actually mean and when to involve a professional.
Stop Before You Patch Damp Walls
Patching over a wall that has moisture behind it will trap the problem and cause the repair to fail — often within weeks. If your wall feels soft, discolored, or keeps showing stains after drying out, read about recurring damp patches on interior walls before proceeding. Address the moisture source first, then repair the surface.
For straightforward cosmetic repairs — the kind caused by normal wear and tear — the steps below will guide you through the full process with confidence. Like knowing which DIY myths to ignore, understanding the right technique from the start saves you from redoing the work.
Step-by-Step Repair Instructions
Check for Wiring and Plumbing First
Before cutting into any wall, use a stud finder with AC wire detection or an inexpensive electronic detector to confirm there are no live wires or pipes behind the damaged area. Cutting into electrical wiring is a serious safety hazard. If you have any doubt, consult a licensed electrician or plumber before proceeding.
Assess the damage and choose your method
Not all drywall damage is treated the same way. Use this simple sizing guide:
- Nail holes and small dings (under ½ inch): Lightweight spackling or joint compound applied with a finger or putty knife — no tape needed.
- Medium holes (½ inch to 6 inches): A self-adhesive mesh patch or a clip-and-backer system provides support before compound is applied.
- Large sections (over 6 inches): Cut out the damaged area back to the nearest studs, install a new drywall piece, tape all seams, and finish with multiple compound coats.
Misidentifying the size or skipping backing support on medium holes leads to compound that cracks and falls out over time.
Prepare the damaged area
Remove any loose paper facing, crumbled gypsum, or debris from the edges of the hole. If the drywall paper is torn and lifting, trim it flush with a utility knife rather than pressing it flat — lifted paper creates bumps under compound. For medium holes, apply a self-adhesive mesh patch centered over the opening, pressing firmly so all edges adhere.
Apply the first coat of joint compound
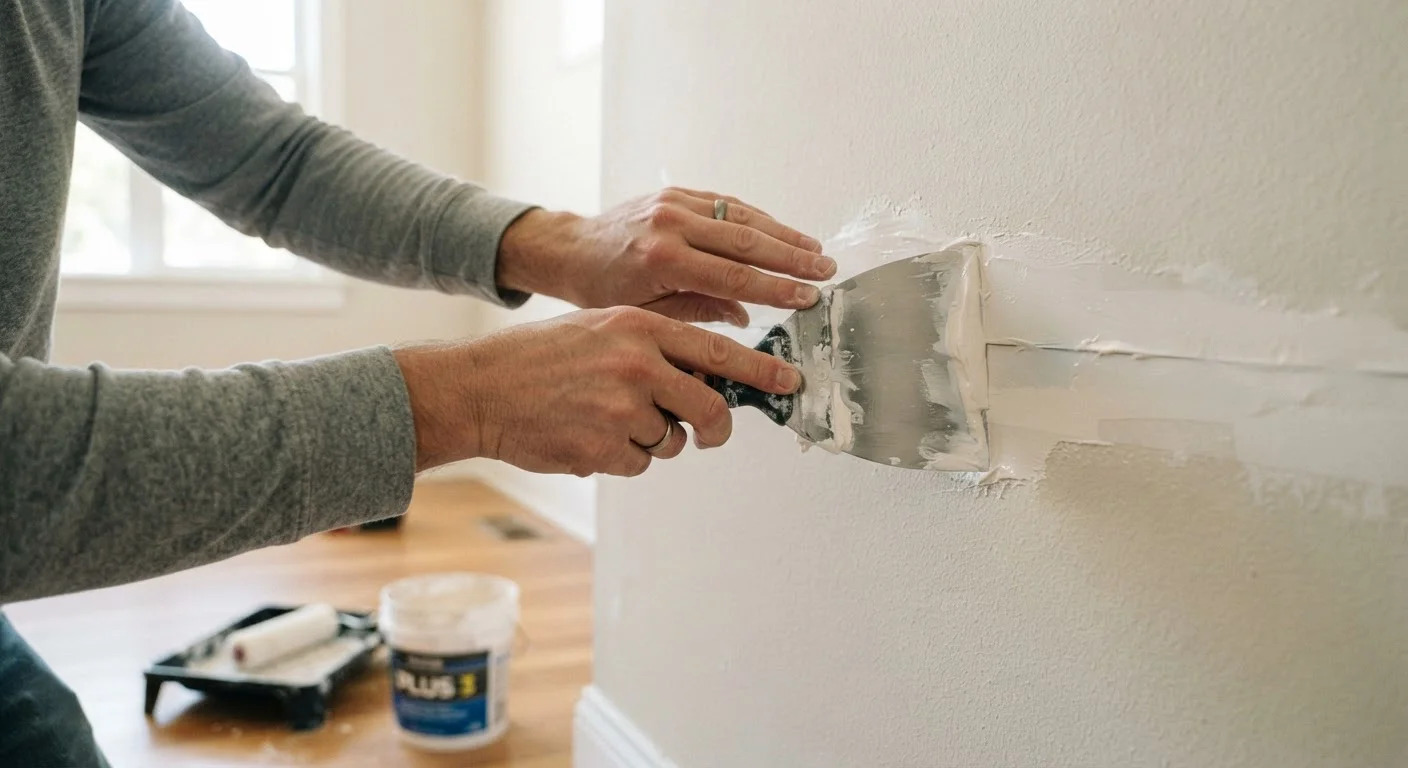
Load your putty or taping knife with pre-mixed joint compound and spread it over the patch using firm, even strokes. For mesh patches, press compound through the mesh openings first to ensure full adhesion, then smooth the surface. Keep this first coat thin — its job is to embed and seat the patch, not to fill flush with the wall. Extend the compound a couple of inches beyond the patch edges. Allow to dry completely; drying time varies with humidity and temperature but is typically several hours to overnight.
Sand, then apply second and third coats
Once the first coat is fully dry, lightly sand with 120-grit sandpaper or a damp sanding sponge to knock down any ridges. Wipe away dust with a barely damp cloth. Apply a second coat, extending it 2–3 inches wider than the first and feathering the edges thin. Let dry, sand lightly again, then apply a third finish coat if needed — particularly for larger patches. The goal after the final coat is a surface that is flush with the surrounding wall with no visible edges.
Prime before painting
Fresh joint compound is highly porous and will absorb paint unevenly, causing the patched area to appear as a dull flat spot even under a matching color — a common frustration described in more detail in our guide on why freshly painted walls still look patchy. Apply a coat of drywall primer or PVA primer over the repaired area, allow it to dry per the manufacturer's directions, and then paint the full wall section for an even finish.
Feathering Is Your Best Friend
When applying each coat of compound, extend it 2–3 inches beyond the previous coat and thin the edges to near-zero thickness. This gradual blend — called feathering — is what makes patches disappear under paint. Rushing this step is the most common reason a repair remains visible.
Once your repair is primed and painted, allow the finish coat to cure for at least 24 hours before hanging anything against the wall. Cured compound is firm but can be scratched or dented while still fresh.
Common Mistakes and How to Avoid Them
The majority of failed drywall repairs come down to three avoidable errors:
- Applying compound too thick in one coat: Thick coats crack as they shrink while drying. Three thin coats always outperform one heavy coat.
- Not feathering the edges: Compound that stops abruptly creates a ridge visible even under paint. Extend and thin each coat outward from the previous one.
- Skipping primer: Painting directly over bare compound produces a flat, dull patch that stands out against the surrounding sheen — regardless of how well you color-match the paint.
Patience between steps is the single biggest differentiator between a professional-looking result and a repair that draws the eye. Rushing the drying process — with fans or heat lamps — can cause surface drying that traps moisture underneath, leading to shrinkage cracks.