

Key Takeaways
- Transplant shock is usually caused by avoidable mistakes during timing, watering, or handling.
- Hardening off — gradually exposing seedlings to outdoor conditions — is a critical step many gardeners skip.
- Root damage during removal from starter containers is a leading cause of post-transplant decline.
- Planting into poorly prepared or unfamiliar soil stresses roots and slows establishment.
- Consistent moisture in the first week after transplanting is more important than at almost any other stage.
What Transplant Shock Actually Is
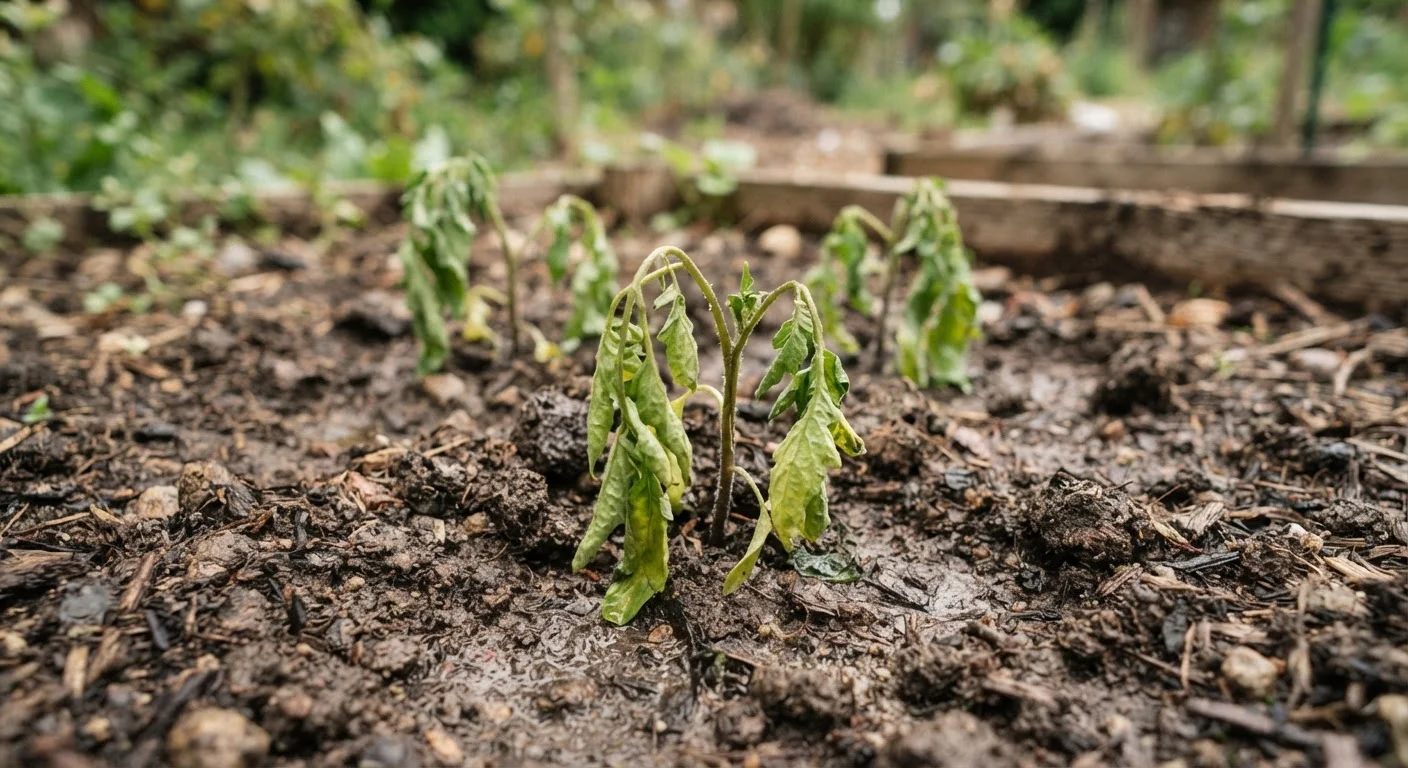
When you move a seedling from a warm, sheltered indoor environment into open garden soil, the plant experiences a sudden shift in temperature, humidity, light intensity, and root conditions. This disruption — commonly called transplant shock — causes the plant to redirect energy away from new growth and toward basic survival. Leaves may wilt, yellow, or drop; growth stalls; and in severe cases, the seedling dies within days.
The frustrating part is that transplant shock is rarely caused by one big mistake. It's usually the result of several small, easily corrected errors compounding on each other. Understanding those errors is the first step toward getting seedlings to thrive. If you're still at the planning stage, our guide to starting a vegetable garden from scratch covers the foundational steps that make transplanting easier from the outset.
Common Mistakes That Kill Transplanted Seedlings
The mistakes below account for the vast majority of transplant failures. Each one is preventable once you know what to watch for.
Skipping the hardening-off process entirely.
Why it happens: Gardeners are often eager to get plants in the ground once the weather looks right, and the gradual outdoor-exposure step feels like an unnecessary delay.
Transplanting at the wrong time of day or into extreme conditions.
Why it happens: Many gardeners work in the garden on weekend mornings when the sun is already strong, making midday or early-afternoon transplanting common.
Damaging or disturbing the root ball during removal from the starter container.
Why it happens: Pulling seedlings out by their stems or shaking loose the potting mix is quick and intuitive, but it tears delicate feeder roots that the plant depends on for water and nutrient uptake.
Planting into unprepared or compacted soil.
Why it happens: New gardeners sometimes transplant directly into native ground without amending it, assuming healthy plants will adapt on their own.
Inconsistent watering in the days immediately following transplanting.
Why it happens: After the initial post-transplant watering, it's easy to assume the plant is settled and return to a less attentive routine too quickly.
Setting Seedlings Up to Survive
7–10 days
Recommended hardening-off period before transplanting
Most university cooperative extension programs recommend a gradual 7-to-10-day outdoor acclimatization period for indoor-started seedlings.
~50%
Estimated seedling loss attributed to transplant shock
Garden educators commonly note that the majority of early seedling failures in home gardens trace back to transplant-related stress rather than disease or pest pressure.
Beyond avoiding individual errors, a few consistent habits dramatically improve transplant outcomes. Water the seedling's original container thoroughly an hour before moving it — moist root balls hold together better and suffer less trauma during extraction. Transplant in the late afternoon or on a cloudy day to reduce heat stress in the hours immediately after planting.
After transplanting, apply a thin layer of mulch around (not touching) the stem to retain soil moisture and moderate soil temperature. For the first week, check soil moisture daily. The goal is consistently moist — not waterlogged, not bone dry. It's also worth revisiting some of the advice you may have received along the way; our piece on garden myths that new growers tend to believe addresses several common tips that can actually do more harm than good.
Once your seedlings are established, thinking ahead to seasonal transitions becomes worthwhile. Preparing your garden beds before the first frost outlines how to protect soil health so next season's transplants have the best possible start.
This article is for general informational purposes only. Gardening outcomes vary based on climate, soil conditions, plant variety, and many other local factors. Always consider your specific growing environment when applying general guidance.